I came across addin reports and statistics in AX 7. You can access this using Visual studio.
Navigate to Dynamics AX menu -> Addins -> Data Entity report.

This report looks like below:

It has these details model, entity names, field count, public entity name, Form Ref etc. This report gives the overview of all the data entitles available in AX.
Navigate to Dynamics AX menu -> Addins -> Data Entity Statistics.

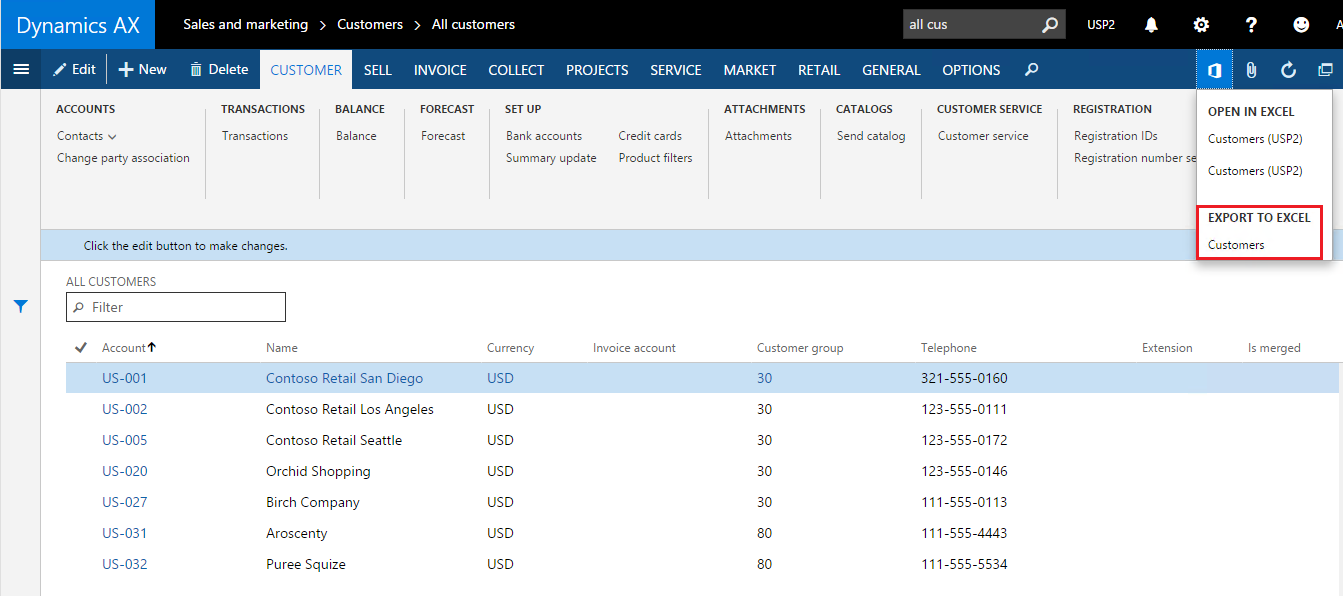
Navigate to Dynamics AX menu -> Addins -> Run form patterns report.

This report shows details about forms like models, form names, form style, patterns and control count etc. about all the available forms in AX.
Navigate to Dynamics AX menu -> Addins -> Form Statistics.

This gives the statistics about the all forms per pattern.
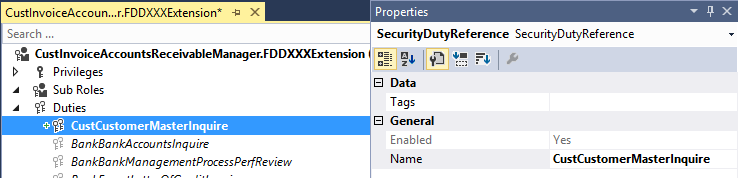
Navigate to Dynamics AX menu -> Addins -> View related roles for all duties.

This report lists all the available roles, related sub roles and the related duties
Navigate to Dynamics AX menu -> Addins -> View related objects and licenses for all roles.

This report has 2 sheets. First sheet whos the details about license requirements for all roles, duties and privileges. second sheets shows all the roles, duties, privileges, connected resource and all the permissions.
Navigate to Dynamics AX menu -> Addins -> Data Entity report.
This report looks like below:

It has these details model, entity names, field count, public entity name, Form Ref etc. This report gives the overview of all the data entitles available in AX.
Navigate to Dynamics AX menu -> Addins -> Data Entity Statistics.
Navigate to Dynamics AX menu -> Addins -> Run form patterns report.
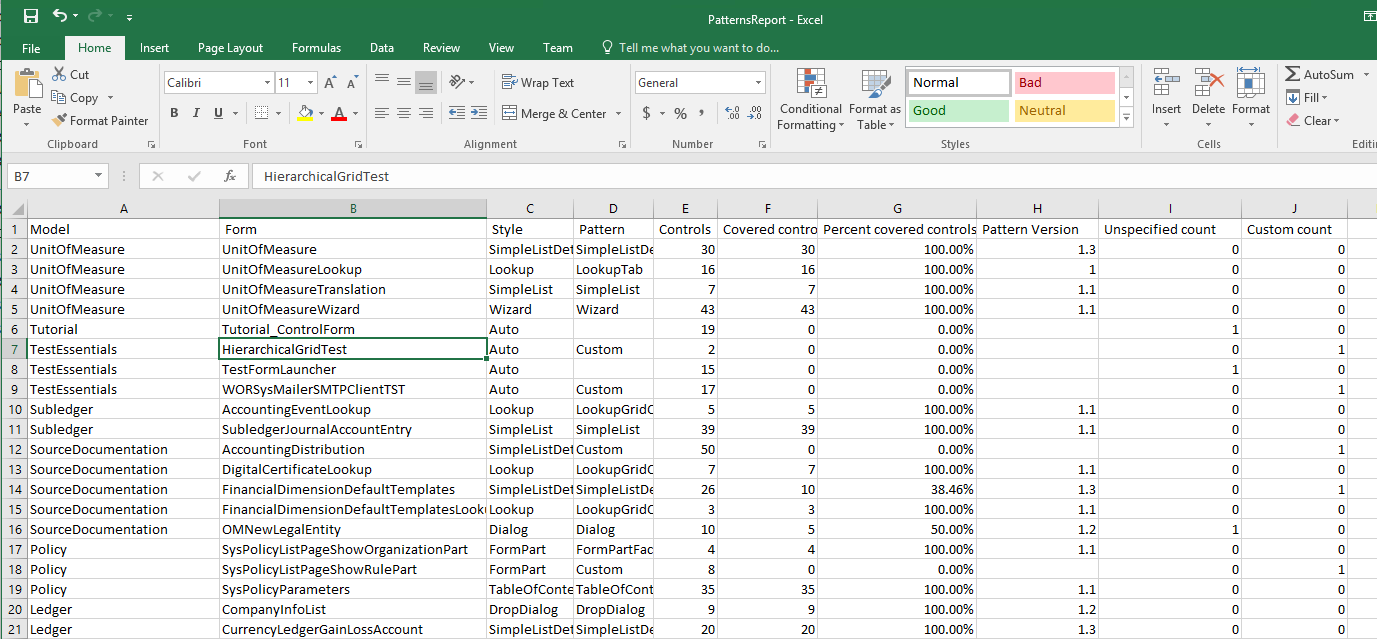
This report shows details about forms like models, form names, form style, patterns and control count etc. about all the available forms in AX.
Navigate to Dynamics AX menu -> Addins -> Form Statistics.
Navigate to Dynamics AX menu -> Addins -> View related roles for all duties.

This report lists all the available roles, related sub roles and the related duties
Navigate to Dynamics AX menu -> Addins -> View related objects and licenses for all roles.

This report has 2 sheets. First sheet whos the details about license requirements for all roles, duties and privileges. second sheets shows all the roles, duties, privileges, connected resource and all the permissions.